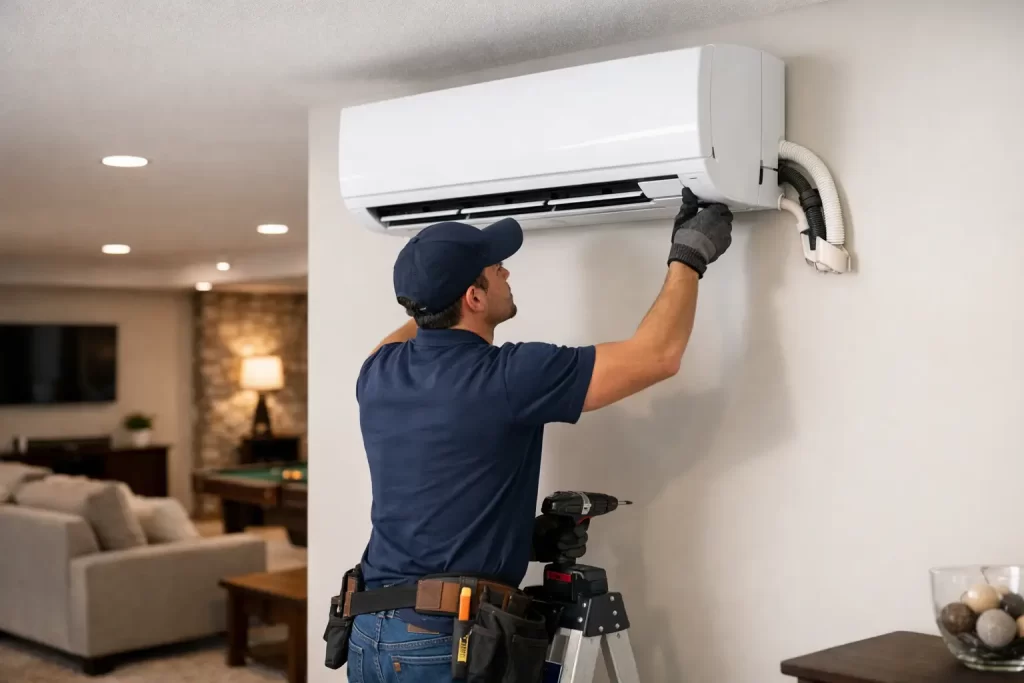
A basement can be finished beautifully and still feel like the least comfortable room in the house. It may stay chilly while the upstairs is warm, feel damp during wet weather, or become stuffy when doors are closed. A mini split installation for basement spaces can solve those problems without extending existing ductwork through finished ceilings and walls – but only when the system is sized, located, drained, and installed correctly.
For homeowners, landlords, and property managers, the goal is not simply to add heat or air conditioning. It is to create dependable, controlled comfort in a space that often has different moisture, airflow, and access challenges than the rest of the property.
Is a Mini Split Right for Your Basement?
A ductless mini split uses an outdoor heat pump connected to one or more indoor air handlers. The indoor unit delivers conditioned air directly into the basement, while the outdoor unit moves heat in or out of the home depending on the season. In heating mode, a cold-climate heat pump can provide efficient warmth even when outdoor temperatures drop. In cooling mode, it can reduce both temperature and humidity.
This makes mini splits a strong option for finished basements, basement suites, home gyms, offices, media rooms, and rental units. They are particularly useful where the existing furnace does not adequately serve the lower floor or where adding ductwork would require major demolition.
That said, a mini split is not automatically the right answer for every basement. If the space has significant water intrusion, visible mold, foundation leaks, or poor insulation, those issues need attention first. HVAC equipment can manage normal humidity, but it cannot correct a wet building envelope. Likewise, if the basement is part of a larger open floor plan, one unit may work well. If it contains several enclosed bedrooms or separate rooms, the layout may call for multiple indoor heads or a different distribution plan.
Mini Split Installation for Basement: What Comes First
A proper installation begins with an on-site assessment, not a guess based on basement square footage. Basements can lose heat through concrete walls, rim joists, windows, exterior doors, and unfinished areas. They also tend to benefit from less cooling than an upper floor, though humidity can still be a major concern.
The contractor should assess the finished area, ceiling height, insulation levels, window exposure, occupancy, and how the basement connects to the main floor. They should also consider heat from electronics, exercise equipment, laundry appliances, or a fireplace. A media room with several people and high-powered equipment has different cooling needs than a lightly used storage area.
Correct sizing matters. An oversized mini split may heat and cool quickly but cycle too often, leaving humidity control weaker and wasting energy. An undersized system may run continuously during cold snaps or hot weather and still leave occupants uncomfortable. Load calculations and equipment selection are worth the time, especially for suites and rental properties where comfort complaints can quickly become a management issue.
Choosing the Indoor Unit Location
Wall-mounted indoor heads are common because they are efficient and practical. In a basement, the best wall is usually one that allows air to reach the largest open area without blowing directly at a couch, bed, desk, or dining table. The unit needs clearance around it for proper airflow and future service.
Avoid placing the head behind a beam, inside a tight alcove, or directly above shelves that block air movement. Do not choose a location solely because it is close to the outdoor unit. A shorter line set can reduce installation complexity, but comfort coverage and drainage still come first.
For basement bedrooms, a single wall head in the main room may not deliver even comfort behind closed doors. A multi-zone system with separate indoor heads can be appropriate, although it costs more and requires more planning. In some layouts, a compact ducted indoor unit may provide better room-to-room distribution while keeping the equipment out of sight.
Planning the Outdoor Unit and Line Set
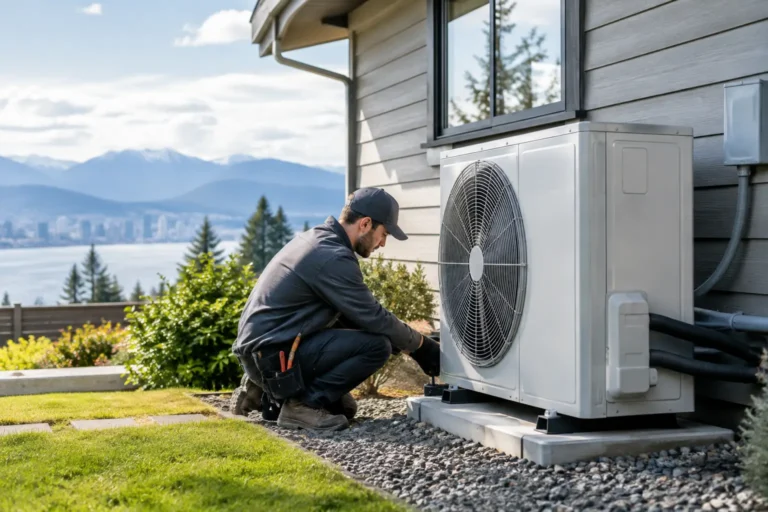
The outdoor condenser needs a stable, level location with clear airflow and safe access for maintenance. It may sit on a ground stand, wall bracket, or approved mounting pad, depending on the property and local conditions. In wet climates, the unit must be positioned to manage snow, rain, drainage, and debris without restricting airflow.
Refrigerant lines, wiring, and the condensate drain run between the indoor and outdoor components. A professional installer plans this route carefully to limit unnecessary bends, protect the line set, and keep exterior penetrations properly sealed. Poor routing can affect appearance, create access issues, and make future repairs more difficult.
Drainage Is a Basement Priority
During cooling operation, the indoor unit removes moisture from the air. That moisture becomes condensate and must drain safely away. In a basement, gravity drainage is not always available because the indoor head may be below the exterior grade or too far from a suitable drain point.
When gravity drainage is not possible, the installation may require a condensate pump. This small pump moves water to an approved drain location. It must be installed where it can be serviced, with a reliable discharge route and appropriate safety protection. A neglected or poorly installed condensate pump can cause leaks, property damage, and an unexpected service call.
It is also wise to look beyond the mini split itself. If the basement remains persistently humid, a dedicated dehumidifier, bathroom exhaust improvement, or correction of exterior drainage may be needed. Comfort equipment works best when the structure is managing moisture properly.
Electrical Work and Safety Cannot Be an Afterthought
Mini splits require a dedicated electrical circuit, an exterior disconnect, and wiring sized for the selected equipment. The exact requirements depend on the model, capacity, and local code. This is not a place for an extension cord, a shared circuit, or improvised electrical work.
A licensed installation protects the equipment, the property, and the people using the space. Proper electrical work also supports warranty requirements and helps prevent nuisance shutdowns, tripped breakers, and equipment damage. For rental suites and commercial spaces, documented professional work can be especially important for insurance, inspections, and owner records.
The refrigerant side of the installation also requires trained handling. The line set must be pressure-tested, evacuated, and commissioned correctly. Skipping these steps can introduce moisture or contaminants into the system, reduce performance, and shorten compressor life.
Heating Performance and Backup Heat
Modern cold-climate mini splits can be an efficient heating source for many Lower Mainland basements. Still, the right design depends on the home, insulation, local winter conditions, and whether the mini split is the only heat source for the space.
Some homeowners keep an existing furnace, boiler, baseboard system, or fireplace as supplementary heat. Others use the mini split as primary heating for a finished basement or suite. Neither approach is automatically better. The decision should account for the system’s low-temperature capacity, the basement heat load, occupant expectations, and the need for dependable comfort during severe weather.
If you are considering a broader heat pump upgrade, ask about current government incentive and financing options before selecting equipment. Programs can change, and eligibility often depends on the equipment, installation details, and property type. A clear quote should separate equipment, electrical upgrades, drainage needs, and any optional work so there are no surprises.
What a Professional Basement Installation Should Include
A quality proposal should explain where the indoor and outdoor units will go, how the line set and drain will be routed, what electrical work is required, and whether wall repairs or exterior finishing are included. It should also identify the equipment capacity and any access limitations that could affect the job.
After installation, the contractor should test heating, cooling, airflow, condensate drainage, controls, and system operation. The homeowner or property manager should receive basic operating guidance, including filter cleaning, remote or thermostat use, and signs that service may be needed. Filters are easy to overlook, but keeping them clean is one of the simplest ways to maintain airflow and protect efficiency.
FlameCo Heating Services provides licensed, bonded, and insured HVAC installation work across Maple Ridge, Metro Vancouver, and the Lower Mainland, with transparent quotes and support for heat pump upgrade planning. For a basement project, the value is in having the full installation considered at once – comfort, electrical coordination, moisture management, and safe equipment operation.
A basement should not be the room everyone avoids in winter or the room that feels clammy all summer. Start with the condition of the space, then choose a mini split design that fits the layout rather than forcing the layout to fit the equipment.